drones for ukraine
skills used:
- 3D Printing
- Soldering
- Electrical wiring
- Flight controller programming
- Drone piloting
- Battery assembly
- Ukranian translation
- Drone tuning
- FPV controller setup
view the social drone ukraine website
Finding a way to help Ukraine
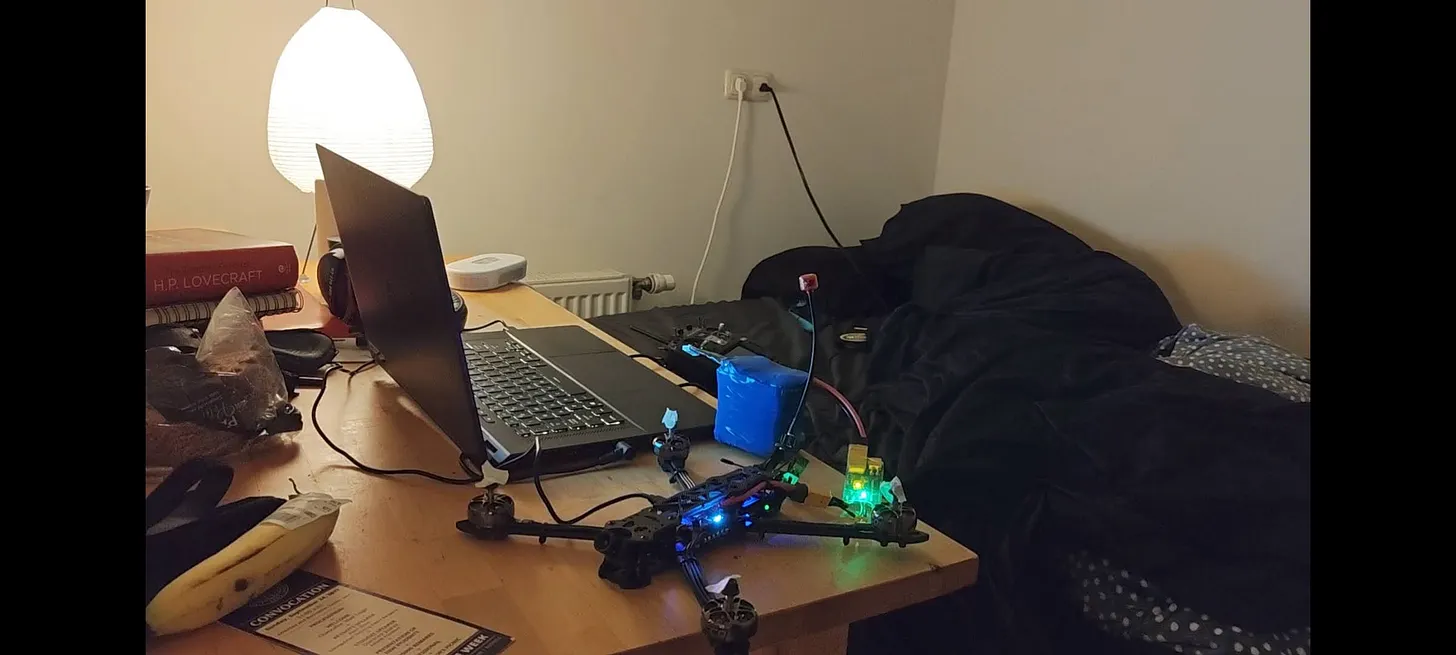
About a year ago, I was reading yet another report about how a massive drone attack had killed dozens in Kyiv, and I decided that I no longer wanted to sit passively and not do something to help stop it. I didn’t want to blindly donate money, given the rampant charity fraud that we often hear about in the news, so I thought; I have a little bit of technical expertise, I have some resources, maybe I could volunteer to make drones. The first place that I checked was YouTube, and after a brief period of searching I came across a Ukrainian news segment about a girl named Misha, who was helping her father—a soldier fighting at the front by building him drones in her apartment. After a lot of positive feedback from the front, it had quickly blossomed into a much larger movement which was named Social Drone Ukraine (Соціальний дрон).
The group is organized by Ukrainians for Ukrainians, but after a quick Google, I found their website, which also had a page in English that had links to directly donate money. On a whim, I instead applied to join their Telegram group, downloading the app, saying that I was an American living in Europe who wanted to help their movement. That I was a programmer and had some experience, and might be able to contribute. I translated the message into Ukrainian and sent the message.
It took about a day, and then my request to join was accepted. There was thousands of Ukrainians in the group, with channels ranging from R&D, where users shared videos of their prototype drones and their improvements to the existing 3D models—to brutally graphic videos of the group’s drones being used in combat—but most importantly there were videos from the battalions on the front with stacks upon stacks of drones, thanking the group for their donations. It took a couple of days to figure out, but eventually I found the resource pages to build the drones that they wanted. It took several more days to realize that there was a dedicated channel for internationals, dozens of people from all over the world who had found the group just like I had. I watched with astonishment as someone in Poland asked if they could come to Ukraine to volunteer to build drones, and immediately, offers erupted to house them. I wasn’t ready to go that far, but I knew that I’d found what I was looking for.
SocialDroneUA provides a website that makes it clear where to order the parts for the drone. Aliexpress is almost always the source, a popular Chinese E-Commerce store which is also frequented in the United States and abroad. Here parts can be found for everything from barbie dolls to military grade infrared imaging systems. It can take several weeks for the parts to arrive, so I ordered my first kit from one of the recommended lists on their (modern, very polished) website, and waited. After two weeks, the first parts arrived in sealed anti-static bags. My carbon fiber frame, the video transmitter, the camera module, wires, soldering equipment, flight controller, and more. There were no instruction manuals for assembly, and I had no idea what I was doing, and that’s where I made my first mistake.
After assembling the frame, I immediately noticed a problem. Not everything was going to fit, the video transmitter was too large, and it looked like the frame I ordered was too small. Embarrassed, it took me a while to work up the courage to ask in their help channel what was wrong. I translated my message into Ukrainian like I had done before, and hid my face in my hands. It turned out that I ordered the S version of the frame, which was 5”, and the smallest they use is 7”, however, I had also ordered the parts for a kit that was used by another group, not SocialDroneUA’s kit, so there were more than one group using the parts website—something that I had missed in the translation. I ordered the correct parts and waited for another three weeks.
With the new parts, I set to work following the provided guide (which was in English, made by an international volunteer). Only the 3D printed parts were outdated, but the new files were readily available on the website. I purchased my own 3D printer for this project. You can also order 3D prints from online service providers. The material that they use is a Ukrainian brand Elastan D100, which it just 95% TPU. They are very particular about the soldering job, and I redid my solder joints again and again until I was sure it was perfect. I didn’t want my drone to be the one that falls on top of the wrong person with a bomb strapped to it.
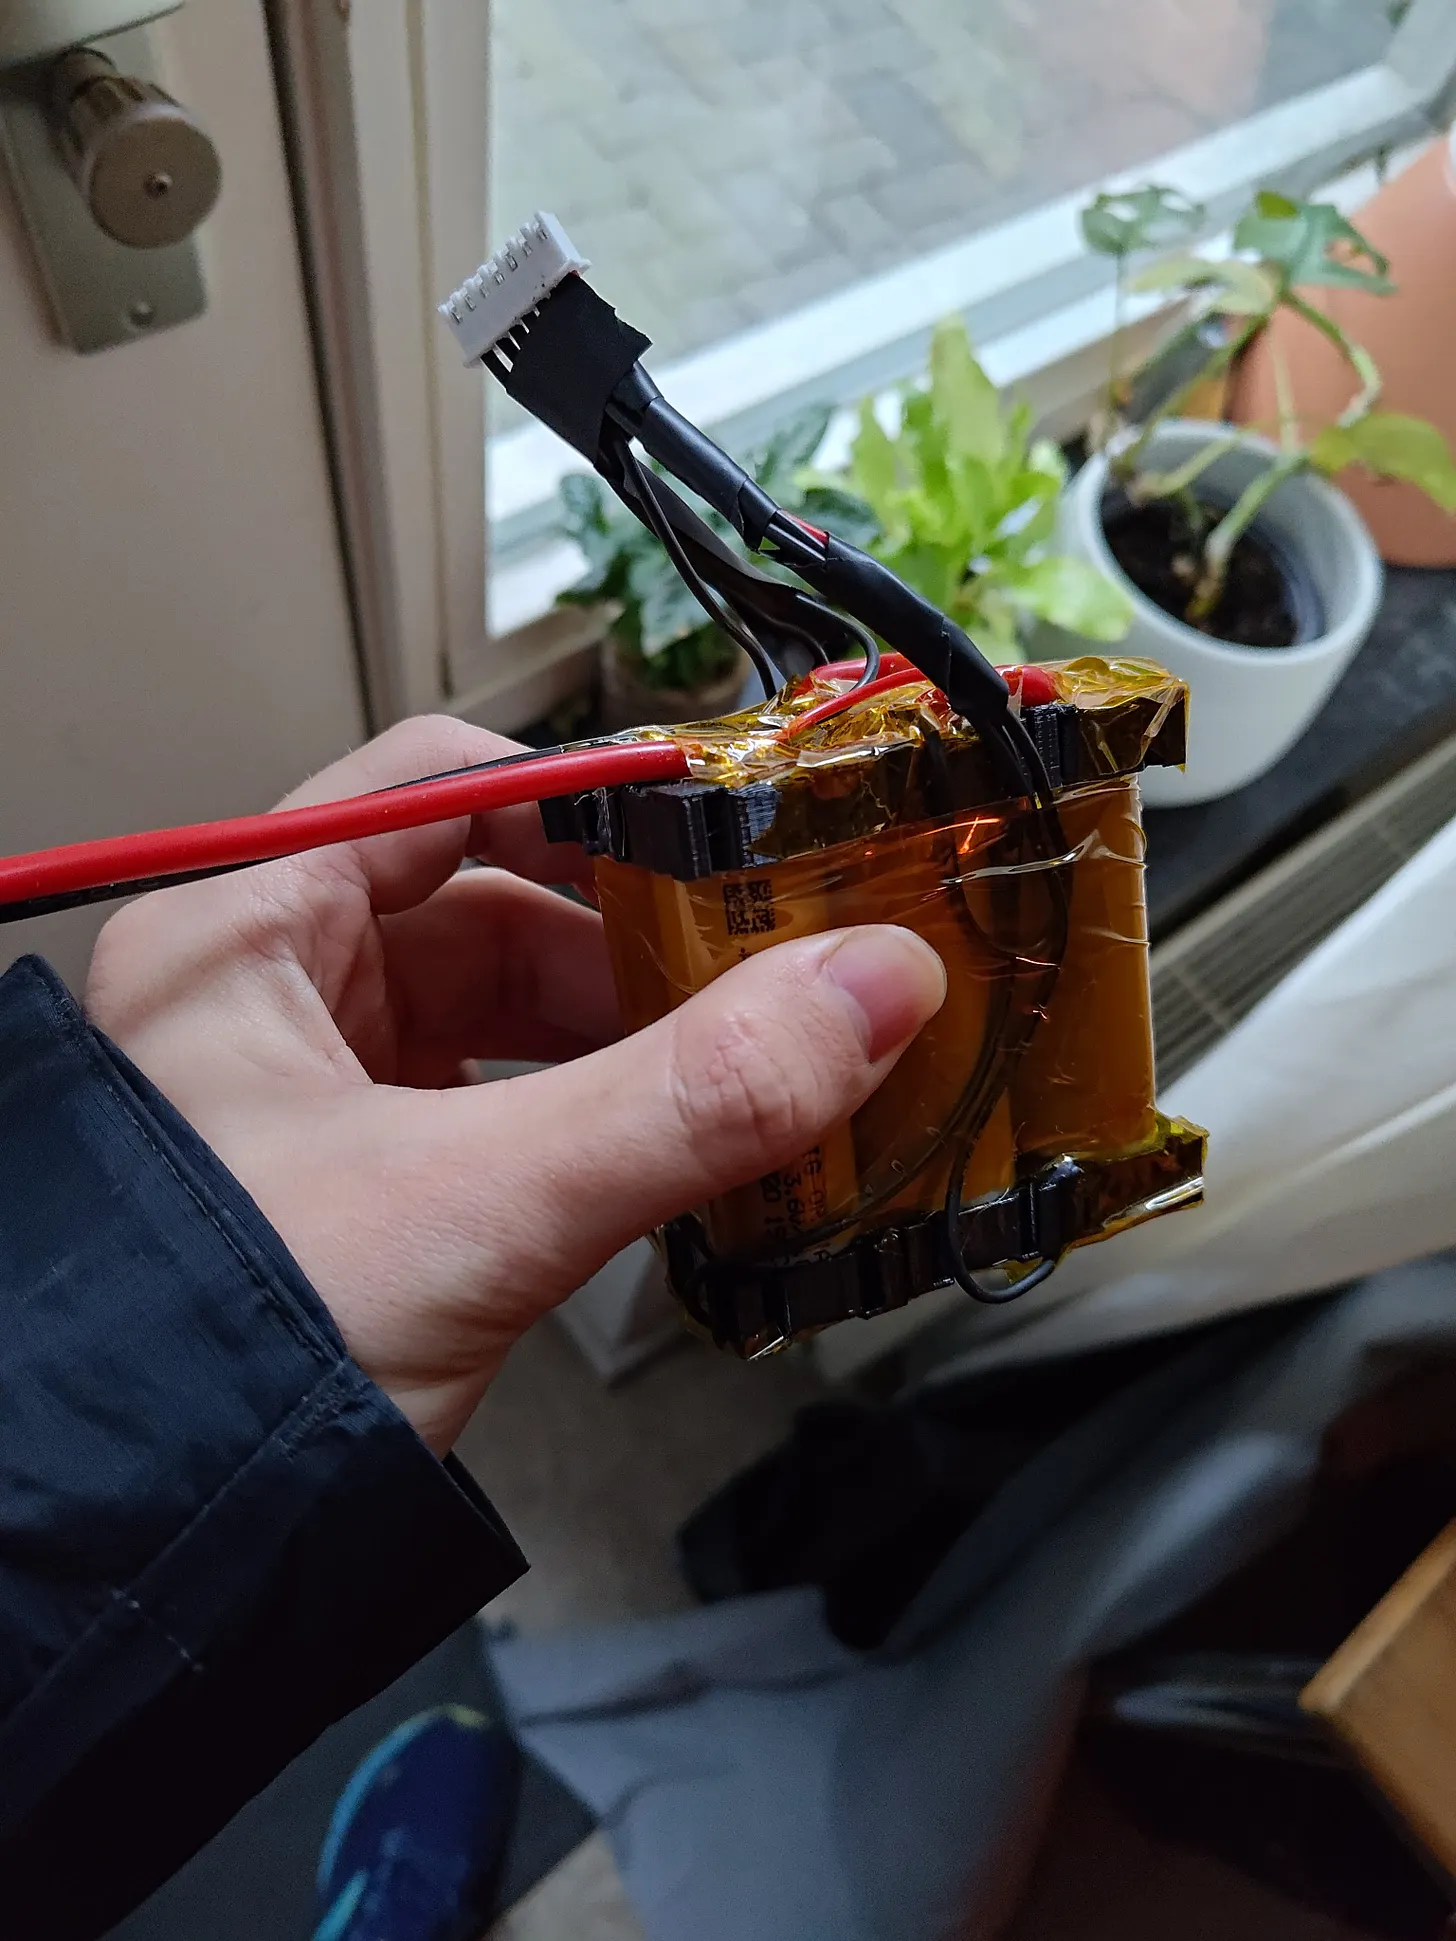
Connecting the rest of the parts was a breeze and it was clear from the instructions what to do. The last part was flashing the software. This took a long time, and I ended up buying the full goggles, controller, and built my own battery to be sure it would work correctly out of the box. This was entirely unnecessary but I wanted the satisfaction of knowing it all worked before I sent it. The full software configuration is on their website, and you can download and flash it using Betaflight and ELRS configurator. There aren’t good instructions for this but you can find some guides on YouTube. I plan on making a detailed guide on this step at a later time.
 Finally, to ship the drone you have to find a company that ships to Ukraine. Meest seems to be the only one that is reliable, which is the one I ended up using. There are also volunteer groups that you can send the drone to that will bring it across the border when they deliver other supplies if you are in Poland, Germany, or another nearby country. The locations to deliver the drone are provided when you register the drone in the system to get your ID code. The delivery points change regularly and are random post offices in different cities—in this way there is no one point for the Russians to bomb to stop the delivery of these drones.
Delivery for my drone took about two weeks. First it is shipped to Poland by DHL, and then to Ukraine by the courier. The status of the drone is updated in Telegram and I was notified when it was received. It was tested, then shipped to a battalion for training. About a month later I received another notification that it had been sent to a different battalion on the front line for use in combat. The total cost was around $350 after shipping for the final drone. Mission accomplished.
If you would like to learn more—consider applying to join the Telegram group and visiting SocialDroneUA’s youtube channel.